Running a local test farm
Install
Clone our local farm bootstrap repository with git:
cd my-root-folder-of-cool-projects
git clone https://pumpitup@dev.azure.com/pumpitup/pumpo-number-five/_git/test-auto-farm-bootstrap
cd test-auto-farm-bootstrap
For Windows users, edit the file
docker-compose.yml, navigate toservices.selenoid.volumesand do the following:
- uncomment (remove
#):- /var/run/docker.sock:/var/run/docker.sock- comment:
- /mnt/wsl/shared-docker/docker.sock:/var/run/docker.sock
Pull all required docker images using docker-compose pull with the profile capabilities:
docker-compose --profile capabilities pull
The download process may take a few minutes.
Start-up
Startup your local farm by running the following docker-compose command:
docker-compose up -d
Open your browser and go to http://localhost:8080/. You should see something similar to the image below:
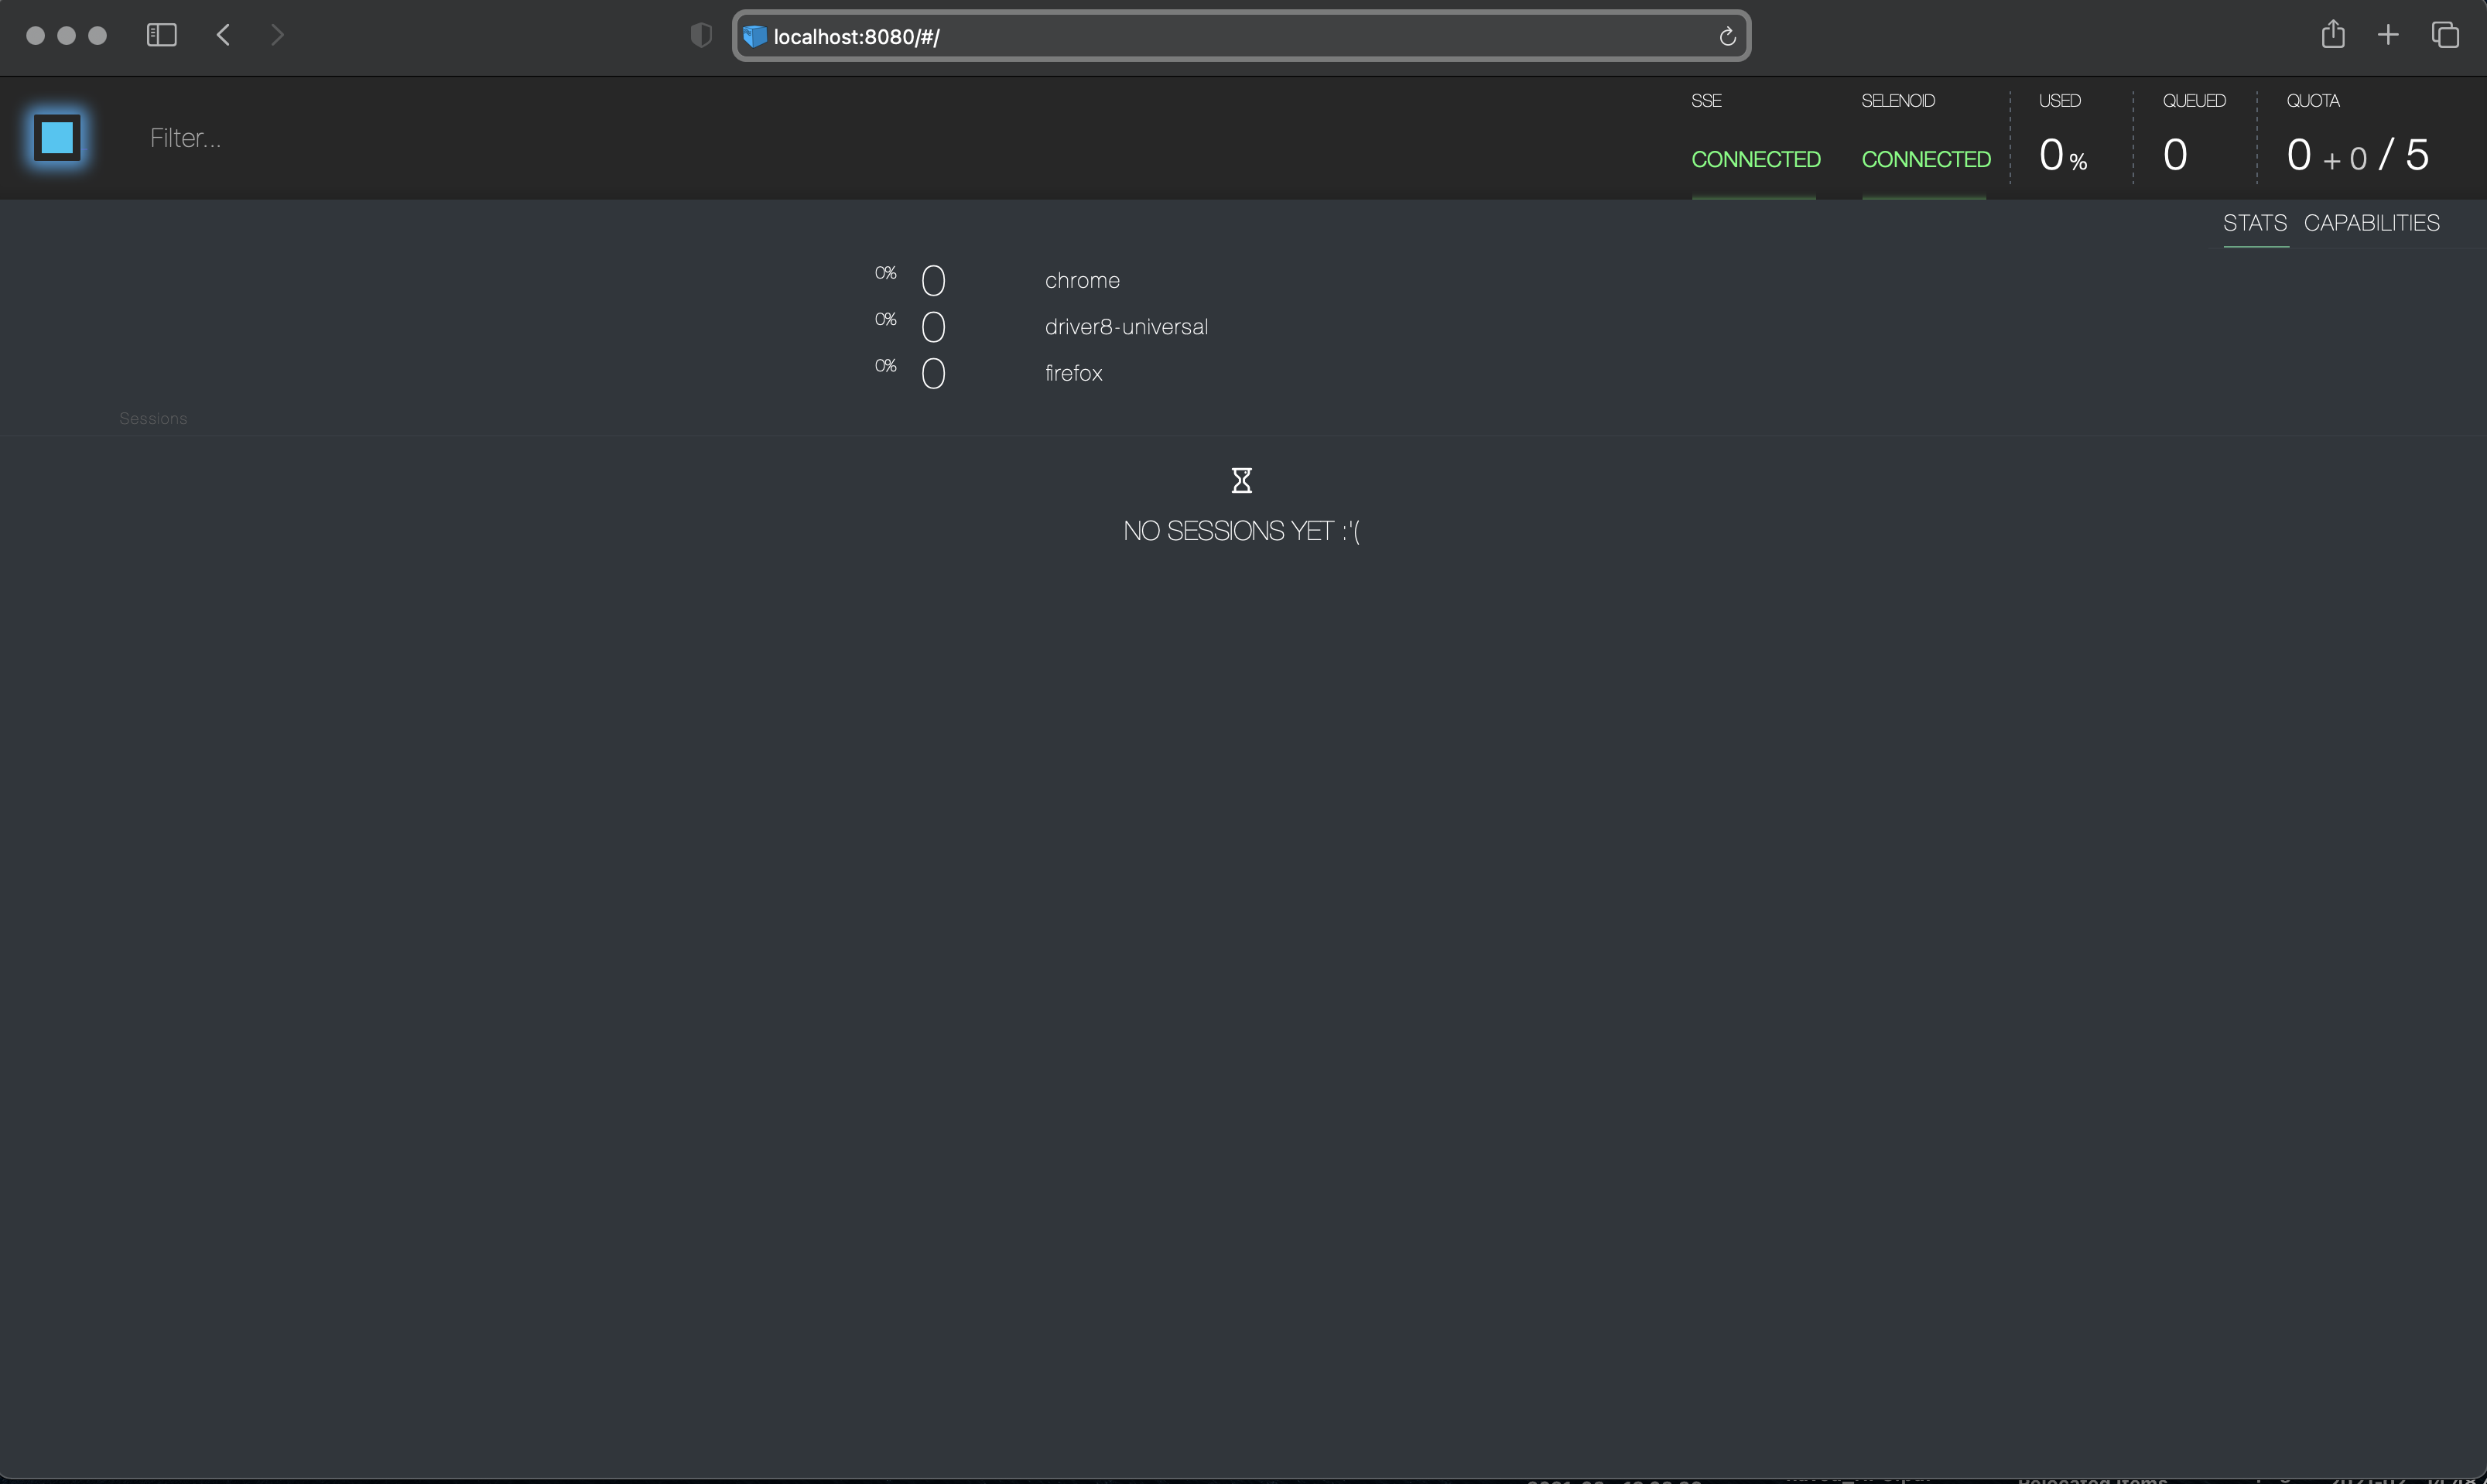
Both SSE and SELENOID indicators should be green saying CONNECTED.
Congrats! You have a local test farm running.
You can now proceed to launching your first test. The test should connect to the farm on th url localhost:4444 and you should be able to se both logs and the browser on the test farm user interface when it is running.
Shut-down
When done you can shut down your local test farm using the following command:
docker-compose down
Troubleshooting
- In case of you cannot get farm running locally (e.g. due to company policies) contact us directly by email and we can talk about using our 'shared farm'.
- If ports 8080 or 4444 are occupied on your local machine, you can always use other ports by editing the file
docker-compose.yml